Fried rice with tuna and vegetables

main thumb

Fried rice with tuna and vegetables

Ingredients

One small tuna fish, rice bran base, vegetable according to taste, 1 tablespoon oyster sauce

1.Remove the oil from the tuna by supporting it. Pressing it with a spoon makes it easier to remove oil.

2.You can use vegetables at home. I used onions, carrots, paprika, and green onions.

3.Put vegetables and fry them together.

4.Please cook some vegetables, please put rice.

5.Put the fat tuna in well-mixed rice and vegetables Please fry again.

6.You can lightly sip the salt and have oyster sauce.

Posting source

How to Soak, Cook and Freeze Dried Black Beans

How to Soak, Cook and Freeze Dried Black Beans - Learn how to cook dried black beans to prepare them for use in recipes. Includes storage and freezing techniques.

How to Soak, Cook and Freeze Dried Black Beans – Learn how to cook dried black beans to prepare them for use in recipes. Includes storage and freezing techniques.

I have been trying to do more and more “from scratch” in my kitchen lately. The bulk bins at the health food store have become my friends. I am convinced that overconsumption of processed food is at the root of many health problems; the more we can “get real” with our ingredients, the better. Preparing dried beans from scratch rather than using canned beans is one great place to start. The process of soaking, cooking and storing beans is easy, economical, and healthy – you can control the salt content in your beans, rid them of enzymes that impede digestion, and avoid the BPA lining that can leech into canned goods. I’ve already covered how to prepare chickpeas in the past, and have received many questions about other types of legumes. Different varieties of beans have slightly different preparation methods, so I thought I would cover a new one each week. Today, we kick off the series with – black beans!

How to Soak, Cook and Freeze Dried Black Beans - Learn how to cook dried black beans to prepare them for use in recipes. Includes storage and freezing techniques.

Ingredients

  • 1 lb dried black beans (please refer to instructions below if you plan to cook more or less)
  • 20 cups water, divided
  • Salt (optional)

You will also need

  • large pot with lid, colander, freezer bags or containers (optional)
Total Time: 12 Hours

Servings: Varies

Kosher Key: Pareve


The method below uses a ratio of 10 cups of water per pound of dried black beans, if you plan to use a different amount, please adjust accordingly using this ratio.

In a large pot or bowl combine the black beans with water at a ratio of 10 cups of water per pound of dried beans. Soak overnight. NOTE: black beans don’t absolutely need to be presoaked before cooking, however I always soak them for three reasons – it speeds up the cook time, helps the beans to cook more evenly, and makes them easier to digest.

Once the beans have soaked, you will notice that they have increased in size, indicating that they have absorbed moisture.To quick soak the beans, you will need 1 hour. Place the black beans into the bottom of a large pot and cover with water. Bring beans to a boil. Let them boil for 3 minutes, then remove from heat. The beans will expand, so make sure you cover by several inches of water to allow for this.After soaking using either method, drain and rinse the beans.

Place the beans in a large pot and cover again with the same ratio of fresh water. It is important to use fresh water for boiling; the soaking water contains oligosaccharides, released from the beans during soaking, that can lead to digestive discomfort. Add salt to the cooking water if desired to give the beans more flavor (I use about 1 tablespoon salt for every 10 cups of water). Place on the stovetop and bring to a boil, then reduce to a simmer. Simmer for 1 hour, or until you reach desired tenderness. I recommend stirring the beans a few times throughout the cooking process so that the beans at the bottom of the pot don’t soften before the beans at the top.

Once the beans have finished cooking, drain them in a colander.

If freezing, allow the beans to cool completely. You can speed this process by rinsing them with cold water, just be sure to drain them completely. Transfer them to a freezer safe container (I recommend resealable freezer bags) and freeze until needed. I like to measure out 1 ¾ cups of beans in each bag, which is equivalent to the amount in a standard sized can. They will keep in the freezer for up to 6 months.

When ready to use your frozen beans, remove the beans from the freezer and thaw. They can be reheated on the stovetop, added to soups and stews or used however you would use canned beans.

Organic Black Beans is available to purchase at SFMart.com

This article is originally posted on Tory Avei

Lentil Curry Recipe

Ingredients

1 cup of lentil lentil beans, 200g of pork, 1 onion, 1 mushroom, Edible oil, ginger liquor 1, water 5 cups, curry powder 12 tablespoons, pepper curry

1. Onion and fresh mushrooms are similar in size to lentils. Pork is also cut to remove the blood.

2. Lentil beans are sieved and washed in running water.

3. Put oil in pan and put pork and ginger liquor and fry.


4. When the pork is half cooked, add onions and mushrooms and fry them.

5. When the onion becomes transparent, boil it with water.


6. Put the lentil beans and simmer for 3 ~ 5 minutes.


7. Put the curry powder into the bowl and let it loose.


8. Stir in a stir and finish with pepper.

 Posting source


Top 10 Health Benefits of Brown Rice

White and brown rice

Brown rice is better for you than white — the evidence is compelling when you look at the top 10 health benefits of it that follow. The majority of consumers typically choose white rice over brown because of the difference in appearance.

While it’s true white rice might look more appealing to some than its brown relative, it doesn’t mean it’s the healthier alternative. According to a study conducted by the American Journal of Clinical Nutrition, brown rice is the top choice in terms of both nutritional and other inherent healthy benefits.

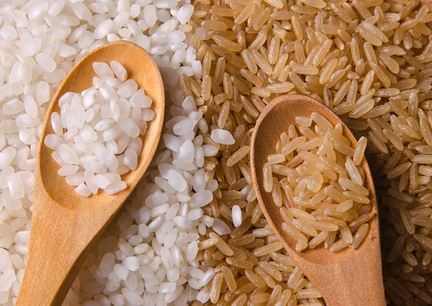
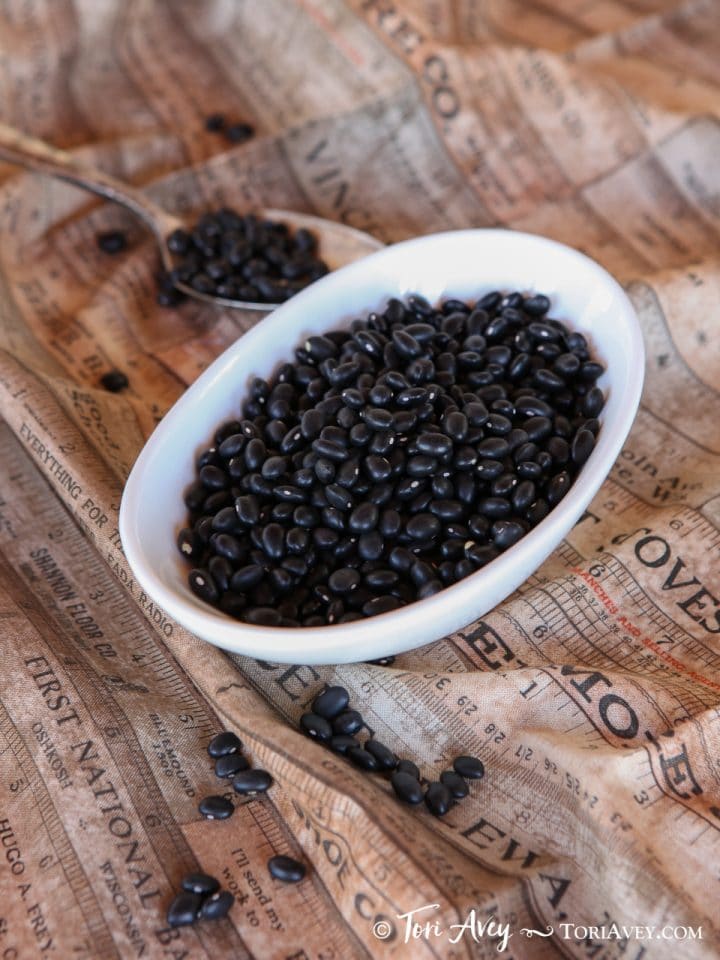
Why Brown Rice? Before white rice went through the refining process, it at one time looked exactly like the brown stuff. Brown, unlike white rice, still has the side hull and bran. The side hulls and brans provide “natural wholeness” to the grain and are rich in proteins, thiamine, calcium, magnesium, fiber, and potassium. For those trying to lose weight or those suffering from diabetes, it can prove a healthful staple given its low glycemic rating which helps reduce insulin spikes.

Unfortunately, all white rice packaging has a label that reads “enriched.” Since white rice has been stripped of iron, vitamins, zinc, magnesium and other nutrients during the refining process, manufacturers must add unnatural fortifications in the form of synthetic vitamins and iron so it can be marketed to the public as a “nutritious food.” Although white rice is fortified, it still doesn’t reach the minimum nutritional requirements for one serving of food as specified by the FDA. The healthy benefits of brown rice are listed below.

1. Rich in Selenium It is rich in selenium which reduces the risk for developing common illnesses such as cancer, heart disease and arthritis.

2. High in Manganese One cup of it provides 80% of our daily manganese requirements. Manganese helps the body synthesize fats. Manganese also benefits our nervous and reproductive systems.

3. Rich in Naturally-Occurring Oils Naturally occurring oils are beneficial for the body as these healthful fats help normalize cholesterol levels.

4. Promotes Weight Loss The fiber content of brown rice keeps bowel function at it’s peak since it makes digestion that much easier. It is the perfect addition to the daily diet for those seeking bowel regularity. In addition, it also makes the tummy feel full which translates to smaller meal portions.

5. Considered Whole Grain Brown rice is considered a whole grain since it hasn’t lost its “wholeness” through the refinement process. Whole grains are proven to reduce the buildup of arterial plaque and reduce the risk of heart disease and high cholesterol.

Brown rice in a bowl6. Rich in Anti-Oxidants This is one of the best kept secrets regarding brown rice. We usually associate anti-oxidant rich foods with blueberries, strawberries and other fruits and vegetables. Its antioxidant capacity is right up there with these super stars.

7. High in Fiber It is high in fiber and on top of the list for foods that can help prevent colon cancer. This can be attributed to the high levels of fiber naturally contained in brown rice. These fibers attach to substances that cause cancer as well as to toxins in the body, thus eliminating them and keeping them from attaching to the colon wall.

8. A Slow-Release Sugar Brown rice helps stabilize blood sugar levels; therefore, it’s an excellent food choice for those suffering from diabetes. Studies show that those who consume one half cup eaten daily reduce their risks of developing diabetes by 60%. On the other hand, those who consume white rice regularly increase their chances of developing diabetes one hundred-fold.

9. Perfect Baby Food Brown rice cereal or even just by itself is the perfect baby’s first food due to the dense natural nutrition and fiber it contains. This is a much better choice than refined white rice cereal products as rapidly growing babies and toddlers require nutrient rich diets to help maintain rapid growth cycles.

10. Candida Yeast Infections It is the perfect adjunct for candida yeast infection treatmentsgiven that high glycemic and otherwise sugary/starchy foods are prohibited during most candida treatment protocols. Its natural digestibility coupled with the high fiber content can help sensitive digestive systems heal from an overgrowth of candida organisms. Finally, it is simply delicious and a fantastic staple for both vegetarian and vegan diets. It can be used as a white rice alternative in most vegetarian recipes and provides a full, rich and somewhat nutty flavor. Its flour can be used for vegetarian pancakes, breads and other baked goods. All in all, it is clearly the healthy choice.

Dr. Linda Kennedy MS SLP ND is an avid animal activist and nature lover.

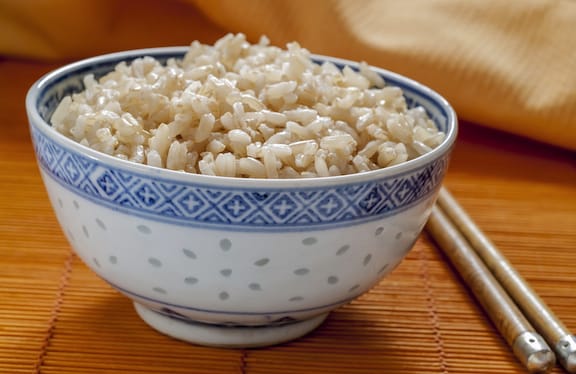
How to Cook brown rice

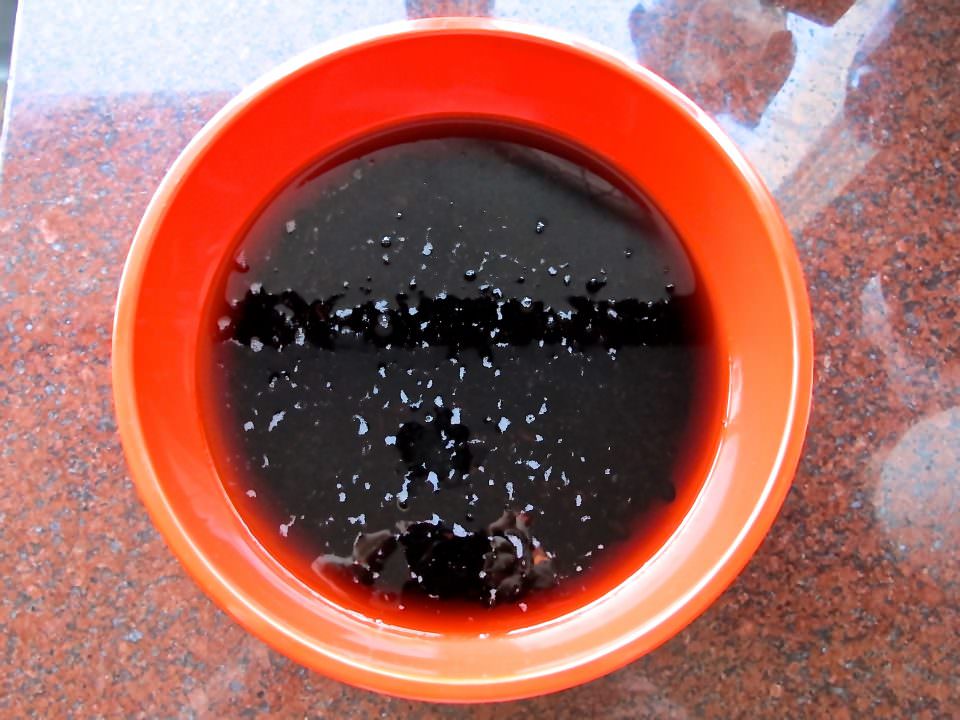
The amount of water recommended for cooking long- and medium-grain brown rice varies depending on the source, from as little as 1½ parts water to as much as 3 parts water per 1 part rice. I’ve always preferred 2 1/2 parts water to 1 part rice. For example, 2 1/2 cups water to 1 cup rice.

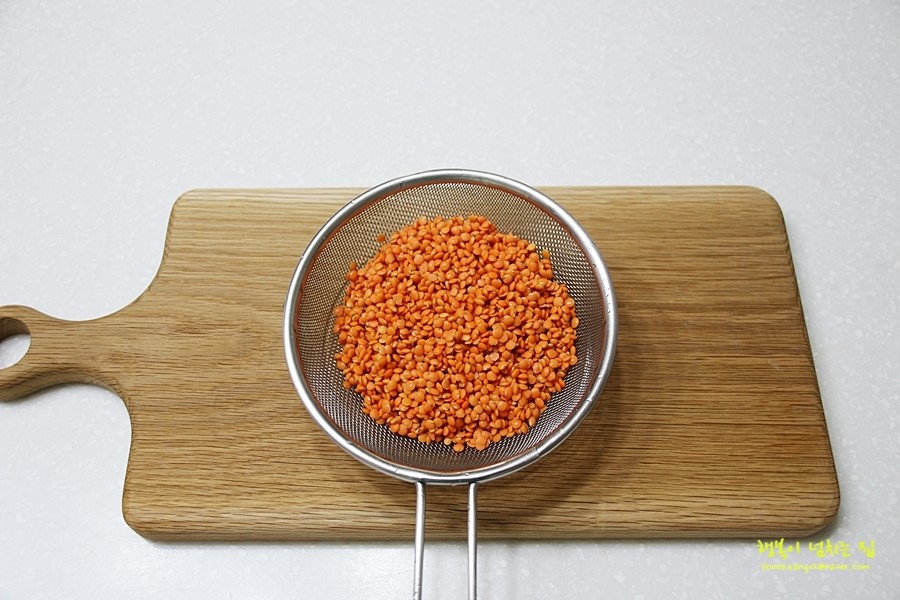
Remember to rinse the rice well before cooking. Combine in a medium saucepan with the water. Bring to a slow boil, then lower the heat, Cover (leave lid ajar) and simmer for 30 minutes, or until the water is absorbed. If the rice isn’t tender to your liking at this point, add 1/2 cup additional water and continue to simmer until it’s absorbed.

Organic Brown Rice is available to purchase at SFMart.com

This article is originally posted on VegKitchen
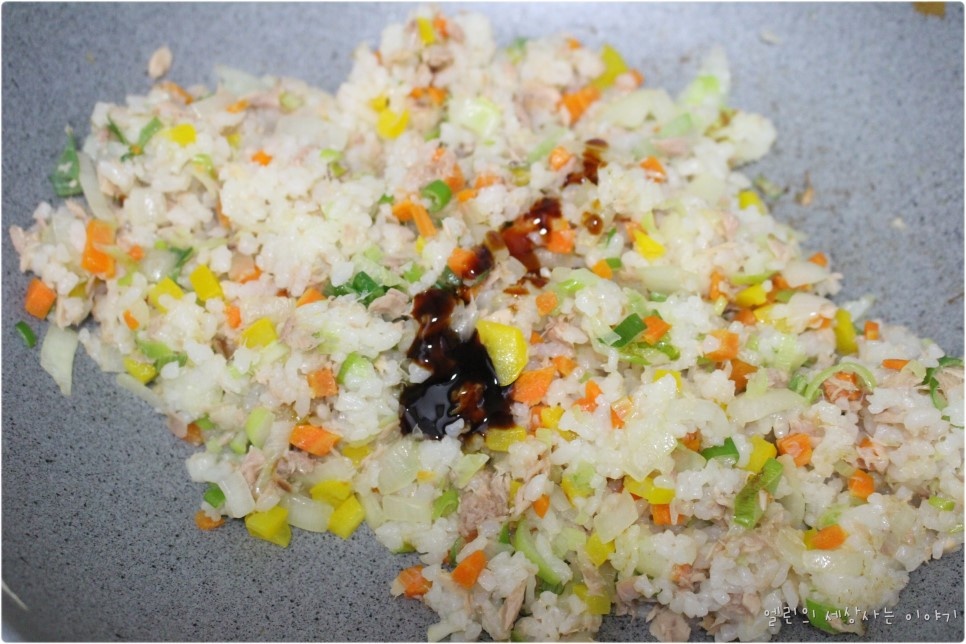
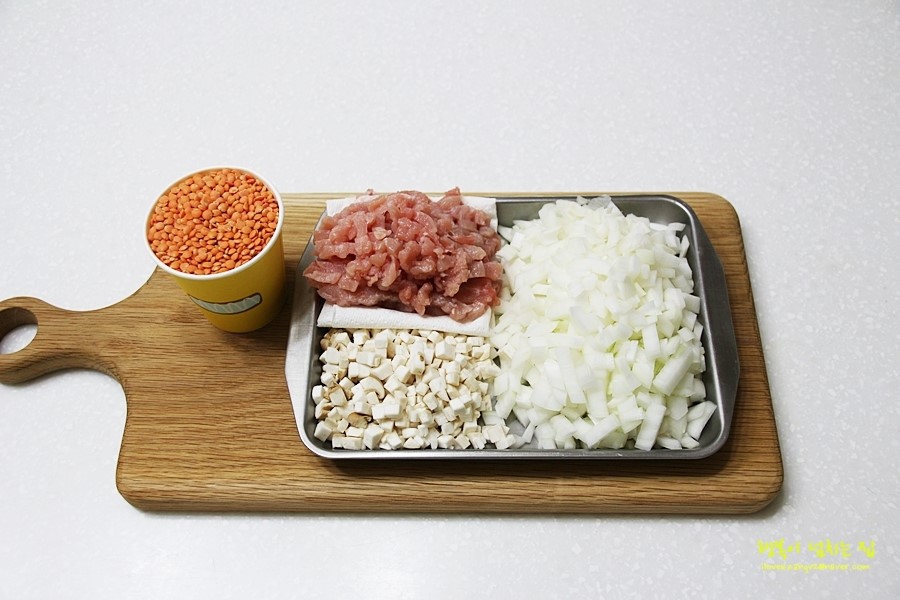
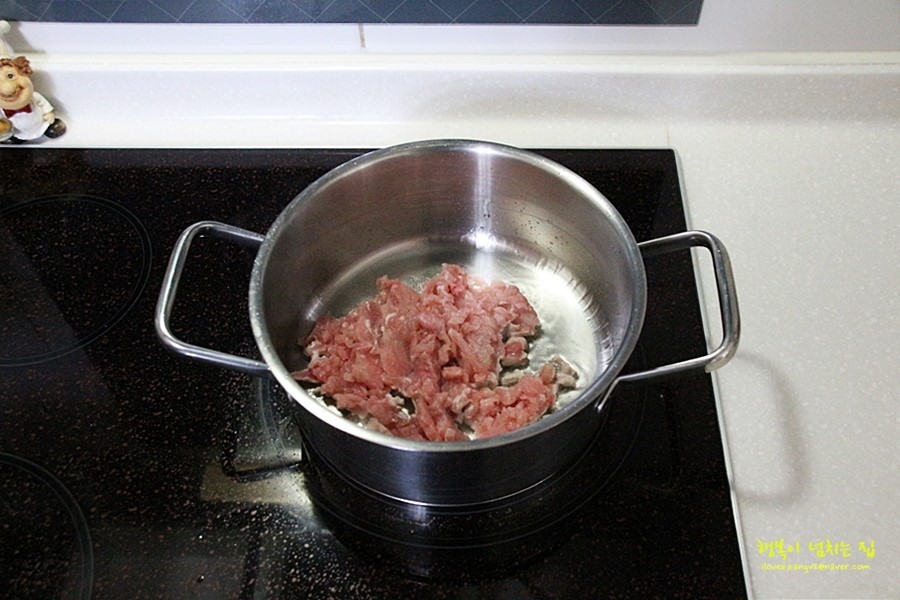
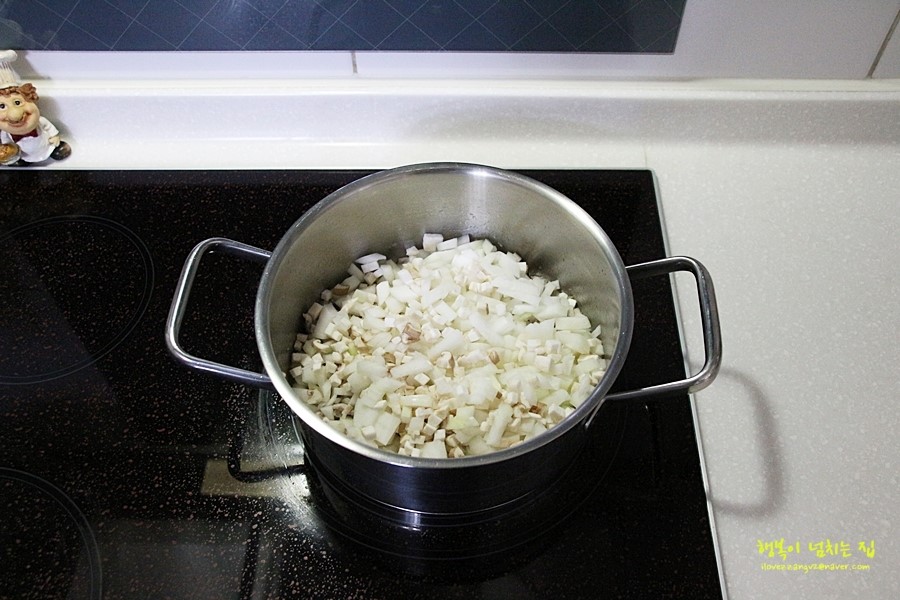
 

How to make sweet potato crust pizza

main thumb

Topping
1 tbsp corn, 3 bacon, 3 mushrooms, 2 tablespoons tomato sauce, 300 g pizza cheese, 1 cheddar slice cheese, 1/4 onion (small), 1/5 blue pepper, dog

Dough
Please refer to past recipe

1. Please prepare toppings for pizza.

When the topped vegetables are thick or thick, the water becomes damp and the pizza becomes damp. In this case, there is a way to increase the temperature of the oven, but the sweet potato crust pizza you are making now is not recommended because the heat must be transferred sufficiently to the inside so that the surface can burn during the baking. (It’s good for thin pizza.) It’s a good idea to slice the vegetables as thinly as possible and remove them once more with a kitchen towel before pizza. If it is difficult to cut thinly, please fry the ingredients in a dry pan lightly for 3-4 minutes.

2. Sweet potato mousse, pizza dough 5cm inward one wheel bing – please turn around.

3. Hold the end of the dough inside the mousse and press it like a pinch to make a crust shape.

If it is difficult to pinch, please press the adhesive side with a fork and finish. If you have a sachet of pouch, please give enough amount of sachet. If you do not have one, use a spoon. Instead of sweet potato crust, you can add string cheese or pizza cheese to a convenience store.

4. Spread 2 tablespoons of tomato sauce thoroughly.

I used a commercially available tomato spaghetti sauce that I could easily get from Mart. It’s about 2 tablespoons, so it’s a little bit too much.

5. Please put a lot of topping over the sauce.

Berichu put bacon on this day, but if you change the toppings, you can apply it with other pizza. You can make shrimp and squid into seafood pizza, pepperoni, pineapple and Hawaiian pizza.

6. Bake in oven for about 20 minutes at 180 degrees.

After about 15 minutes, please adjust the time to watch the pizza. Cooking time can be different because oven is different every house. Pizza cheese spreads evenly, and the outside of the dough grows well.

Posting source