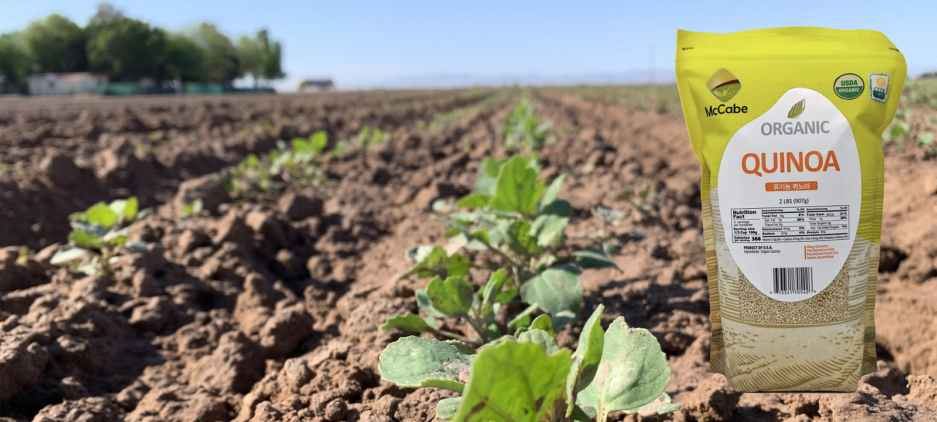
What are the most popular dry beans (U.S. per capita use)?
- Pinto beans
- Navy beans
- Great Northern beans
- Red kidney beans
- Black beans
Dried lentils are a year-round staple in my pantry, essential for rounding out salads during hot weather and hearty soups in the winter months. Regardless of the season, their quick-cooking, no-soak-required nature makes them ideal for healthy weeknight meals. Worried about mushy lentils? I have a trick for that, too.
(Image credit: Joe Lingeman)
For weeknight meals, I like keeping green or brown lentils in our cupboard. These cook quickly and evenly without becoming mushy and are the most versatile for our recipes. Yellow, red, and orange lentils are fantastic, but since they tend to get mushy when cooked, they are usually best added to soups and sauces rather than cooked on their own.
It’s also important to buy the freshest lentils you can find and then use them within a few months. Older lentils take longer to cook and tend to shed their skins during cooking. You may also see tiny white flecks where the lentil started to sprout. They’re still tasty and entirely edible, but just not as presentation-worthy.
After trying many different cooking methods for lentils, I have found that the most reliable way to cook perfectly tender lentils is to bring them to a rapid simmer, then reduce the heat to low for the rest of cooking. You want to see just a few bubbles in the water and some gentle movement in the lentils. They will plump up nicely without splitting their skins or becoming mushy.
The other trick is to wait to add the salt or any acidic ingredients until the lentils are done cooking. These ingredients can cause the lentils to stay crunchy even when fully cooked. If you stir in the salt while the lentils are still warm, they will absorb just enough to taste fully seasoned.
Once cooked, your lentils are ready for any kind of culinary action you want to throw at them. They can be tossed into both green salads and grain salads, used in sandwich wraps, added to soups and chilis, or even made into veggie burgers. Some nights, I love a simple bowl of warm lentils tossed with good olive oil and vinegar with a poached egg to complete the meal.
Organic Lentils is available to purchase at SFMart.com
Knowing how to cook a good pot of brown rice is an essential kitchen skill. I’m talking about tender, chewy brown rice that goes equally well with a quick stir-fry as it does with slices of roasted chicken. Forget the crunchy or mushy stuff that you may have suffered through in the past — we’ve got our method locked down. It’s time to discover how great brown rice can be.
Look for medium- or long-grain brown rice. (Short-grain brown rice cooks slightly differently, so skip it for this method.)
Uncooked brown rice can be stored in the cupboard, but is best used within a few months of purchasing. If you don’t cook with brown rice very often, storing it in the fridge will help keep it fresh for longer. If you have an open bag of rice, or if you bought your rice from a bulk bin, transfer it to an airtight container for storing.
If you’ve had some brown rice sitting in the back of your cupboard for more than a year, it’s probably best to toss it and pick up a fresh bag. The oils in the rice go rancid over time and can make the rice taste overly bitter and unpalatable.
Rinsing your rice before cooking it washes away any grit or dust that may have gotten mixed in during production. I also find that rinsing helps improve the texture of the rice; it’s less crucial than rinsing white rice, but still helps to make each grain distinct.
Toasting the rice won’t change its texture, but it gives the rice a more deeply nutty, toasted flavor. Just sauté the rice in a little olive oil before adding the water, and stir until the rice smells fragrant and you can see a touch of golden color here and there. This is a totally optional step, but if the earthy flavor of brown rice is what has kept you from eating it in the past, then you might find that you like brown rice better after toasting.
And finally, after cooking, let your rice rest off the heat with the lid on for about 10 minutes. This pause before serving helps the rice absorb the last of the moisture in the pot. If you skip it, the rice can be a little sticky and gummy when scooping it from the pot instead of light and fluffy.
Brown rice is truly a kitchen staple — willing and able to be used in all sorts of ways. It’s a side dish on its own, the base of a grain bowl or an easy lunch salad, a filling for burritos, or the start of a casserole. I often make a double batch for dinner and keep the leftovers in the fridge to use up during the week.
Since brown rice takes some time to cook, I also freeze bags of cooked grainsfor nights when I don’t have time to cook a fresh batch. It’s an easy way to make sure I always have some grains on hand when I need them.
Makes about 3 cups
Organic Brown Rice is available to purchase at SFMart.com

Protein is a popular topic in the plant-based world. To celebrate National Bean Day, we put together 15 high-protein bean dishes for you to try! We even snuck a healthy and delicious dessert in there! Beans are great because their flavor is easily masked by the other ingredients. They also store nicely (either dry or canned) to be used all year long! We have spicy, sweet, savory, meaty, and even salty bean dishes to fit anyone’s taste buds!
Hope you enjoy some of our favorite, high-protein bean dishes from the Food Monster App!

Loaded with lentils, kidney beans, and chickpeas, this chili is low in fat while being very high in pure plant-based protein! This Hearty High-Protein Lentil, Kidney Bean, and Chickpea Chili will help to keep you fuller longer and less inclined to grab at that bag of potato chips later on in the evening.

Infused with an abundance of spices and aromatic leeks, these Black-Eyed Pea and Leek Sausages are best served with a plate of vegetables and a side of sauerkraut or with pasta. They’re a cinch to make, too! Wheat protein flour gives them a delightfully meaty texture that’s reminiscent of classic sausages.

We all know how stress can take the life out of us! This is the time to slow down, take time to rest, enjoy nature, and savor warm, soothing soups… like this Ayurvedic Spinach-Mung Detox Soup! The combination of mung beans and spinach makes this dish not only protein-rich but also a nutritiously dense, balanced meal. When we eat according to our body constitution and in tune with the changing seasons, the natural outcome is detoxification and feeling healthier.

Nothing beats a good ol’ veggie burger, especially when it can be made easily at home and is loaded up with nothing but the BEST ingredients. Not only that, but these White Bean and Pumpkin Veggie Burgers are perfect for autumn, filling, healthy, and just plain adorable. The burgers are also healthy, easy to make, jam-packed with flavor, and will satisfy anyone’s taste buds, vegan or not.

Not only is this Colombian Black Bean Stew super easy to make and utterly delicious, but it’s also extremely healthy, full of plant-based protein and fiber. It’s proof that healthy plant-based food does not need to be complicated or expensive. It uses inexpensive foods like black beans, onion, and garlic to make a hearty meal, especially when served with a side of grains and topped with sliced avocado.

Whether you want to eat more beans or if you’re looking for gluten-free or healthier ”croutons ” then this White Bean Croutons recipe is for you! Some beans are delicious if they are a bit smaller and a bit more crispy (not undercooked!), but the larger beans such as giant white beans are really delicious if you overcook them so they fall apart. It’s such comfort food and also so satiating because of the fibers. Delicious!

These protein-packed Veggie Protein Burritos are the perfect make-and-freeze meal for quick, convenient lunches and dinners. They’re stuffed with quinoa and black beans, plus you can boost the protein content by throwing in tofu or meatless crumbles, so you can customize them to your favorite plant-based proteins.

If you’re craving a good, hearty stew, you can’t go wrong with this one! White beans, celery, and savory mushrooms are simmered in a tomato-based broth. This Celery, Mushroom, and White Bean Stew tastes even better the next day, once the flavors have had more time to marry.

This hearty Sweet Potato Black Bean Breakfast Hash packs your meal with flavor and a load of simple, whole food ingredients. Tender sweet potatoes and black beans are cooked with aromatic garlic and onion and seasoned with smoky paprika and cumin. Serve with avocado or a side of toast!

A Southern classic, made vegan! This easy, meat-free Pressure Cooker Hoppin’ John is the perfect dish to throw together whether you’re pressed for time or seeking a filling, budget-friendly meal. Black-eyed peas, wild rice, and tomatoes are stewed together in a pressure cooker for fast cooking. If you don’t have a pressure cooker, fear not! You can make this recipe on the stovetop as well.

Utilizing black beans in brownie recipes is amazing because they are accessible, affordable, packed with protein, easy to use and create the perfect, buttery soft texture! These protein-packed Black Bean S’mores Brownies combine two of your all-time favorite sweets: fudgy brownies and ooey gooey s’mores. If you are in the mood for an indulgent treat that really isn’t that bad for you, whip up a batch of these brownies.

Beans are the perfect base for a vegan take on the classic meatloaf. They provide all the protein, umami flavor, and dense texture that you expect from a meatloaf but are packed with fiber and are much healthier! This Bean and Vegetable Loaf is the perfect combination of meaty, savory, and filling!

This Muhammara is a roasted pepper based purée that is simple, seasonal, and so delicious to pair with the beet and rice salad. Traditionally, it is a Syrian roasted pepper, walnut, and pomegranate relish/dip for bread or meat but of course, we left all of that out in order to let its flavors truly shine.

This is a savory and Hearty Black Bean Soup that is chock full of black beans and is perfect on a cold wintery day. To give it a rich and smoky taste without bacon, this recipe includes some sun-dried tomatoes and grated smoked tofu. And if you don’t care for tofu, don’t worry; you only taste the smokiness, not the tofu.
![Charred Corn and Black Bean Stuffed Sweet Potatoes [Vegan, Gluten-Free]](https://i0.wp.com/www.onegreenplanet.org/wp-content/uploads/2015/10/cornblackbeanstuffedsweetpotato7.jpg?resize=1600%2C1008)
Forget pizza and take-out, Charred Corn and Black Bean Stuffed Sweet Potatoes are now the ultimate feel-good dish! Top it up with some hearty black beans, some deliciously charred corn, and the perfect garlic-y tahini and you’ve got yourself a meal to cure any heartache! The beans give it a certain rich and earthy meatiness which pairs perfectly with the sweetness of the potato and the corn. Together with the velvety tahini sauce, you’ve got something that is completely addictive and absolutely good for you!

For more high-protein recipes, we suggest downloading the Food Monster App, which is available for both Android and iPhone, and can also be found on Instagram and Facebook. The app has more than 10,000 plant-based, allergy-friendly recipes, and subscribers gain access to new recipes every day. Check it out!
Lead image source: Colombian Black Bean Stew
Organic Beans is available to purchase at SFMart.com
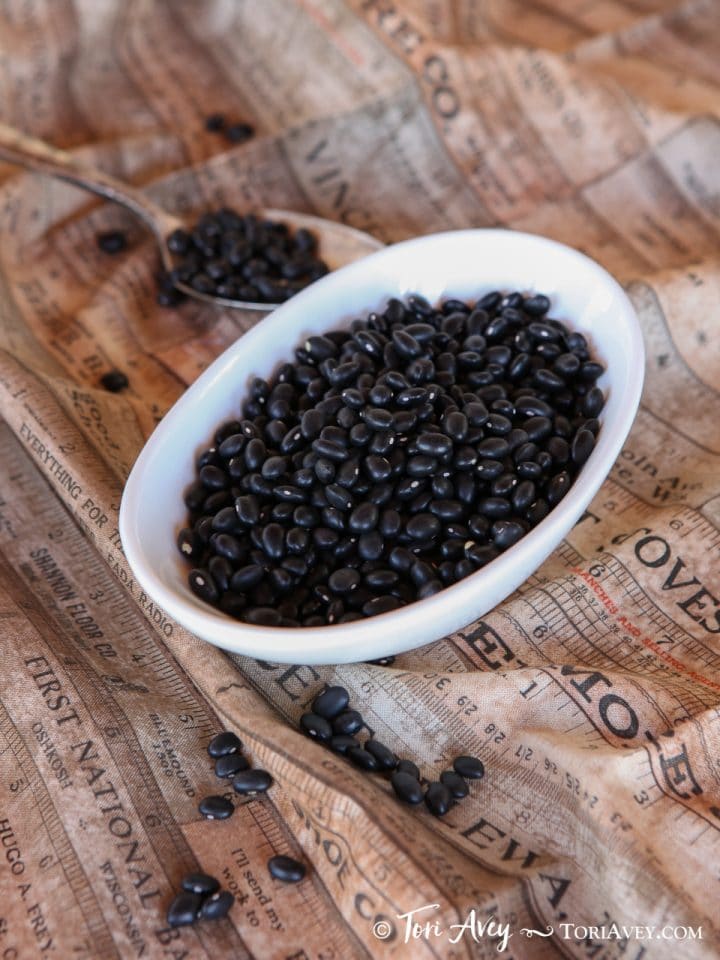
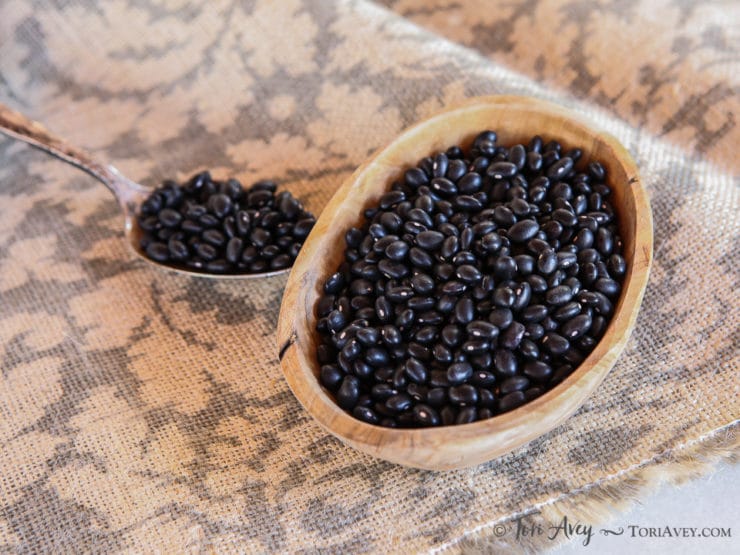
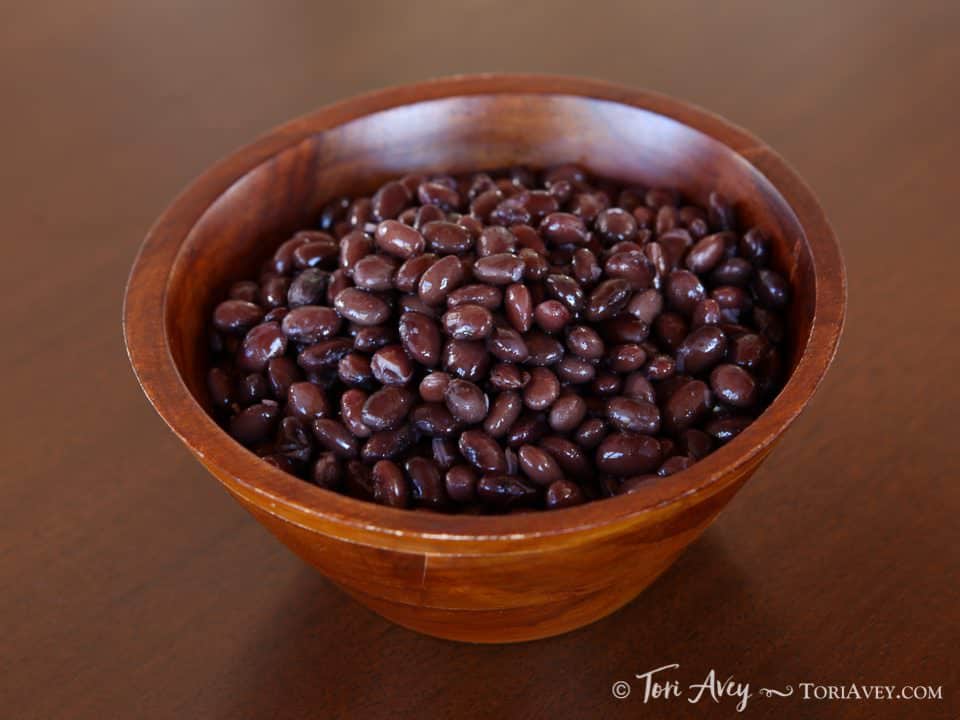
How to Soak, Cook and Freeze Dried Black Beans – Learn how to cook dried black beans to prepare them for use in recipes. Includes storage and freezing techniques.
I have been trying to do more and more “from scratch” in my kitchen lately. The bulk bins at the health food store have become my friends. I am convinced that overconsumption of processed food is at the root of many health problems; the more we can “get real” with our ingredients, the better. Preparing dried beans from scratch rather than using canned beans is one great place to start. The process of soaking, cooking and storing beans is easy, economical, and healthy – you can control the salt content in your beans, rid them of enzymes that impede digestion, and avoid the BPA lining that can leech into canned goods. I’ve already covered how to prepare chickpeas in the past, and have received many questions about other types of legumes. Different varieties of beans have slightly different preparation methods, so I thought I would cover a new one each week. Today, we kick off the series with – black beans!
Servings: Varies
The method below uses a ratio of 10 cups of water per pound of dried black beans, if you plan to use a different amount, please adjust accordingly using this ratio.
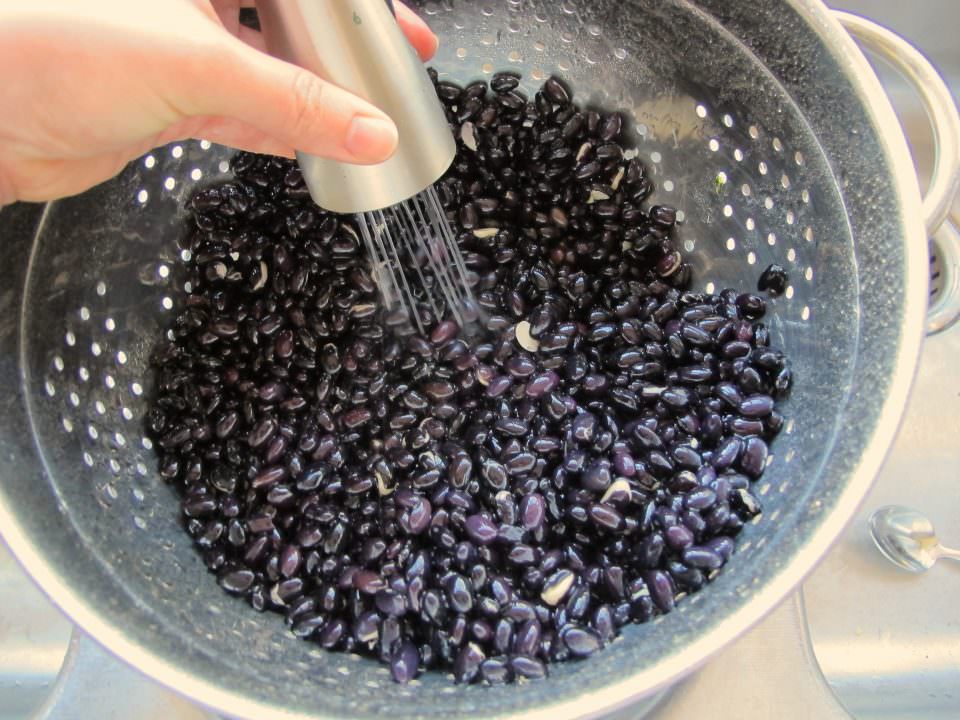
In a large pot or bowl combine the black beans with water at a ratio of 10 cups of water per pound of dried beans. Soak overnight. NOTE: black beans don’t absolutely need to be presoaked before cooking, however I always soak them for three reasons – it speeds up the cook time, helps the beans to cook more evenly, and makes them easier to digest.
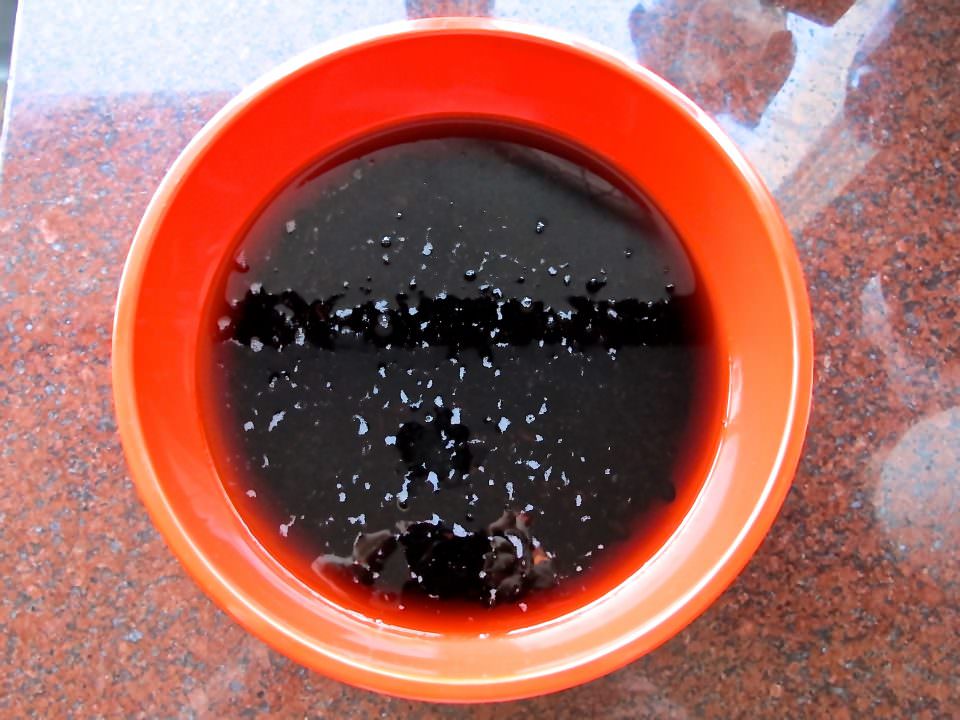
Once the beans have soaked, you will notice that they have increased in size, indicating that they have absorbed moisture.To quick soak the beans, you will need 1 hour. Place the black beans into the bottom of a large pot and cover with water. Bring beans to a boil. Let them boil for 3 minutes, then remove from heat. The beans will expand, so make sure you cover by several inches of water to allow for this.After soaking using either method, drain and rinse the beans.
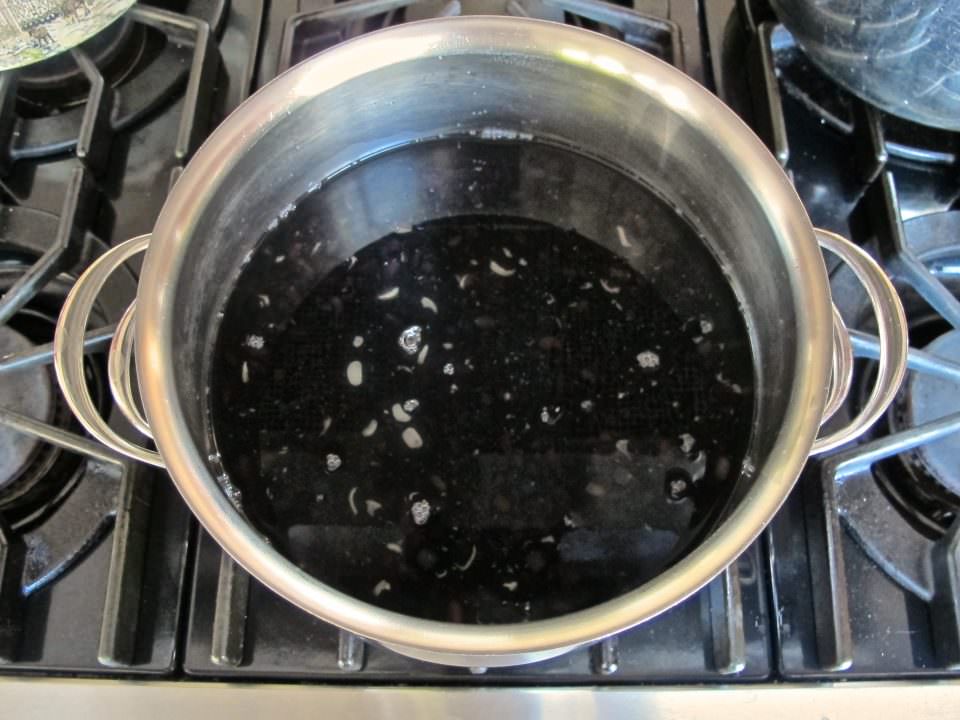
Place the beans in a large pot and cover again with the same ratio of fresh water. It is important to use fresh water for boiling; the soaking water contains oligosaccharides, released from the beans during soaking, that can lead to digestive discomfort. Add salt to the cooking water if desired to give the beans more flavor (I use about 1 tablespoon salt for every 10 cups of water). Place on the stovetop and bring to a boil, then reduce to a simmer. Simmer for 1 hour, or until you reach desired tenderness. I recommend stirring the beans a few times throughout the cooking process so that the beans at the bottom of the pot don’t soften before the beans at the top.
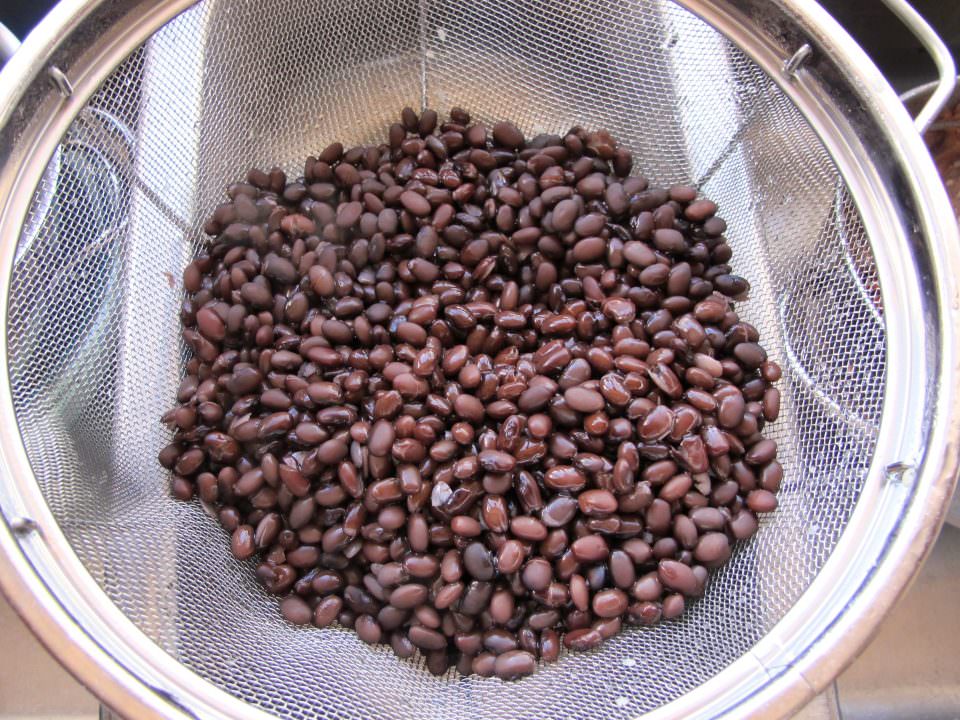
Once the beans have finished cooking, drain them in a colander.
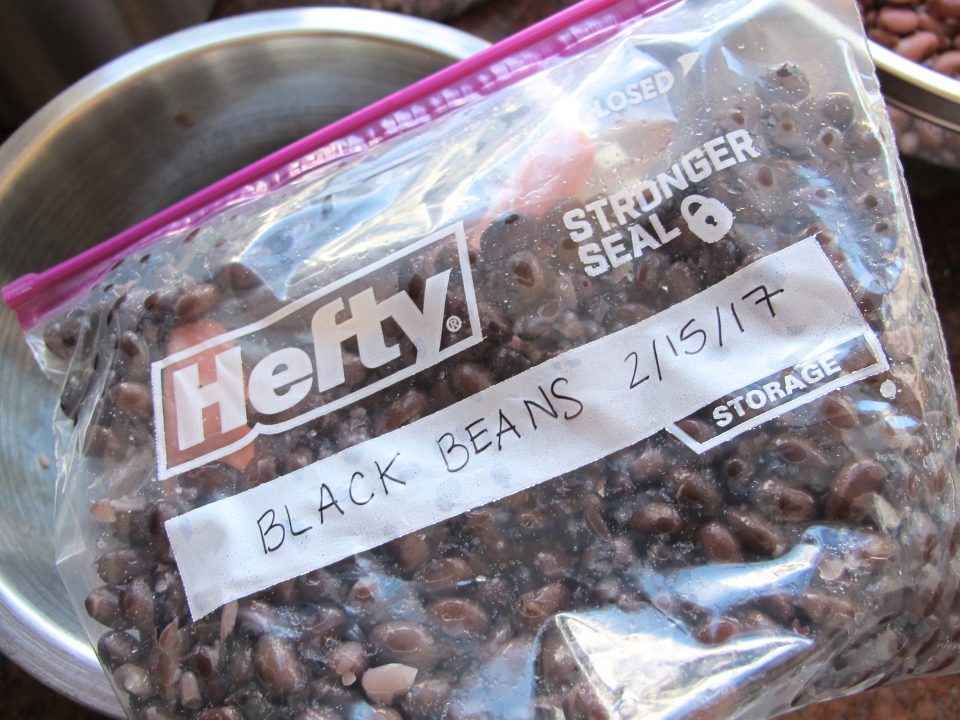
If freezing, allow the beans to cool completely. You can speed this process by rinsing them with cold water, just be sure to drain them completely. Transfer them to a freezer safe container (I recommend resealable freezer bags) and freeze until needed. I like to measure out 1 ¾ cups of beans in each bag, which is equivalent to the amount in a standard sized can. They will keep in the freezer for up to 6 months.
When ready to use your frozen beans, remove the beans from the freezer and thaw. They can be reheated on the stovetop, added to soups and stews or used however you would use canned beans.
Organic Black Beans is available to purchase at SFMart.com